
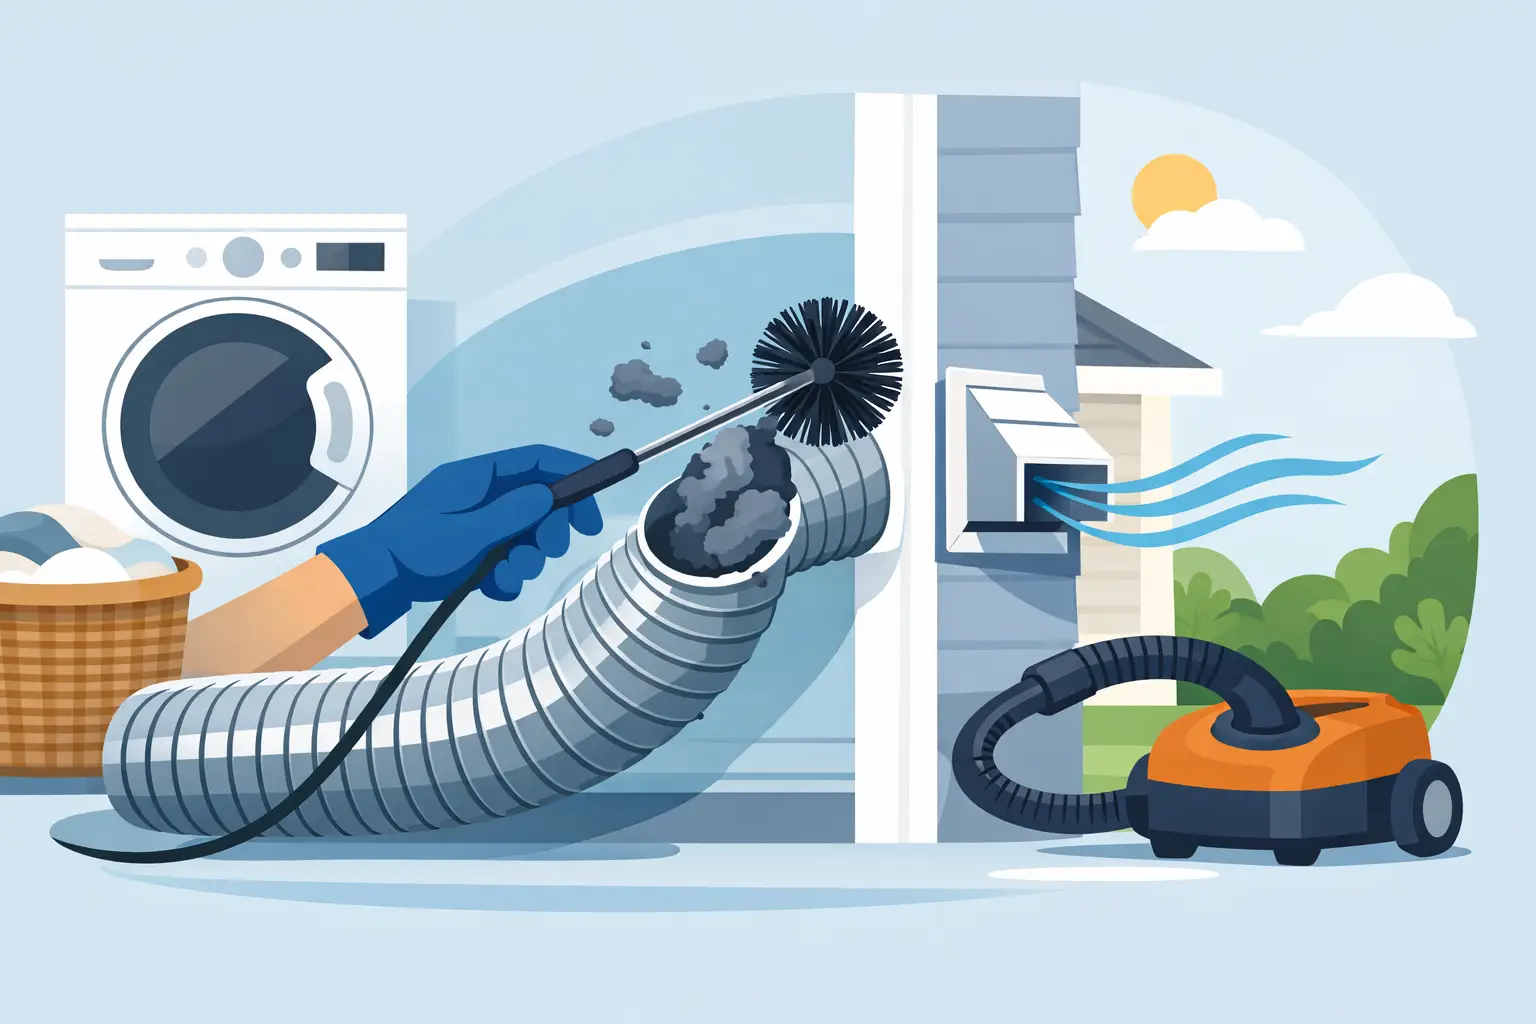
A dryer that suddenly needs two cycles to dry a normal load is not asking for more heat. It is often telling you the exhaust path is restricted. If you are looking up how to clean dryer exhaust line buildup, treat it as a safety job first and a housekeeping job second. Lint is highly flammable, and a blocked line makes your dryer work harder, run hotter, and waste energy.
The good news is that homeowners can handle basic maintenance when the vent run is short, straight, and easy to reach. The tougher part is knowing when a DIY cleaning is not enough. Long runs, hidden connections, roof exits, crushed ductwork, and heavy lint buildup call for professional equipment and a thorough inspection.
Why a Clean Dryer Exhaust Line Matters
Your dryer exhaust line carries hot, damp air and lint from the dryer to the outside of your home. The lint screen catches a lot of debris, but it does not catch everything. Fine lint moves past the screen and settles inside the transition hose, vent pipe, elbows, and exterior vent cover.
Over time, that buildup narrows the airflow path. Clothes take longer to dry, the laundry room may feel humid, and the dryer can become unusually hot. In more serious cases, you may notice a burning smell or see little to no airflow at the outside vent hood while the dryer is operating.
Cleaning the line helps reduce fire risk, improves drying performance, and can lower the wear on your appliance. It also helps prevent moisture from lingering inside the vent, where lint can pack down into a dense blockage.
Warning Signs Your Dryer Vent Needs Cleaning
A clean lint screen does not always mean a clean exhaust line. Watch for changes in how the dryer performs. A full load taking longer than one normal cycle is one of the clearest signs of restricted airflow.
Other warning signs include clothes or the dryer cabinet feeling very hot, a musty or burning odor during a cycle, excess humidity in the laundry area, and lint collecting around the dryer or exterior vent opening. If the flap or louvers on the outside vent cover barely move while the dryer is running, the line may be blocked.
Do not ignore these signals just because the dryer still runs. Restricted airflow is a problem that typically gets worse with every load.
How to Clean a Dryer Exhaust Line Step by Step
Before starting, make sure you can safely access both the dryer connection and the exterior vent opening. A short vent that exits through a nearby wall is generally easier to clean than a vent that runs through an attic, crawl space, ceiling, or roof.
1. Shut off the dryer and pull it forward carefully
Unplug an electric dryer before moving it. For a gas dryer, turn the appliance off and use extra care around the gas connection. Do not strain, kink, or disconnect the gas line unless you are qualified to do so. If the connection looks worn, loose, or damaged, stop and arrange for service.
Pull the dryer away from the wall only far enough to reach the exhaust connection. Check the flexible transition duct behind the dryer. Thin plastic or foil-style ducts are easily crushed and can trap lint. A properly installed metal transition duct is the safer option.
2. Remove and clean the transition duct
Loosen the clamp that connects the duct to the dryer and carefully remove it. Use a vacuum with a hose attachment to remove loose lint from the dryer outlet and the inside of the transition duct. If the duct is crushed, torn, or heavily coated with lint, replacement may be the better choice.
Do not use duct tape to reconnect the dryer vent. Heat-rated metal clamps or foil tape designed for dryer vents are the right materials. The connection needs to be secure without creating gaps that leak lint into the laundry room.
3. Clean the main vent line from both ends
Use a dryer vent cleaning brush kit that is made for the length and type of your vent run. Feed the brush carefully into the wall vent, rotating it as directed by the manufacturer. Pull it back out slowly to remove lint. Repeat as needed rather than forcing the brush through a tight bend.
Then go outside and remove lint from the exterior vent hood. Clear the flap or louvers so they can open freely. Leaves, bird nests, mulch, and dirt can block this area just as effectively as lint.
Be careful with aggressive methods. Blowing air into the line can push lint deeper into an elbow, attic section, or roof termination. It can also leave a large amount of debris inside the system where you cannot see it. A brush and vacuum work well for basic accessible cleaning, but they have limits.
4. Reconnect and test the airflow
Reconnect the transition duct, tighten the clamps, and move the dryer back without crushing the hose. Restore power, then run the dryer on an air-only or low-heat setting for a few minutes.
Go outside and check the vent hood. You should feel a steady flow of air, and the flap should open fully. If airflow is still weak, stop using the dryer until the blockage is located. The restriction may be farther down the line, inside a wall, or at a connection that has come loose.
Common Mistakes That Leave Lint Behind
The most common mistake is cleaning only the lint screen and assuming the job is done. The screen should be cleaned after every load, but the exhaust line needs separate attention.
Another issue is using the wrong vent material. Flexible plastic ducts, flimsy foil ducts, and excessively long accordion-style hoses collect lint and restrict airflow. A dryer vent should have as few turns as practical, with secure metal connections and a clear path to the exterior.
Homeowners also sometimes overlook the outside vent cover. If the cover is painted shut, clogged with debris, or blocked by landscaping, air cannot escape. A clean line still cannot work properly if the termination point is closed off.
When to Call a Dryer Vent Cleaning Professional
DIY cleaning is reasonable for a simple setup, but it depends on the vent layout and the amount of buildup. Professional service is the safer choice when the vent is long, has several bends, exits through the roof, runs through an attic or crawl space, or has not been cleaned in years.
You should also call for help if you cannot get strong airflow after basic cleaning, find a disconnected duct, see crushed or damaged pipe, or smell burning during dryer use. These conditions need more than a quick brush from the laundry room.
Certified technicians use specialized tools to remove buildup throughout the full run, not just near the dryer. They can inspect the vent path, identify poor connections or unsafe materials, and make sure the exterior exhaust point is working as it should. For landlords and small property operators, professional cleaning also helps keep routine maintenance consistent across multiple units.
Carolinas Air Duct Cleaning Service provides thorough dryer vent cleaning for homeowners and property managers who want the work handled correctly, without guesswork or a half-finished result.
How Often Should You Clean the Dryer Exhaust Line?
For most homes, professional dryer vent cleaning once a year is a practical schedule. Households with large families, frequent laundry loads, pets, or long vent runs may need it more often. A vent that serves a shared laundry area or commercial-style equipment may also require more frequent service.
Between cleanings, empty the lint screen after every load and check the exterior vent cover regularly. If drying times change, do not wait for the annual schedule. That performance change is your signal to inspect the system.
A dryer should dry efficiently, vent freely, and leave no question about where the heat and moisture are going. Keeping the exhaust line clear is one small maintenance task that protects your appliance, your energy bill, and the people under your roof.