
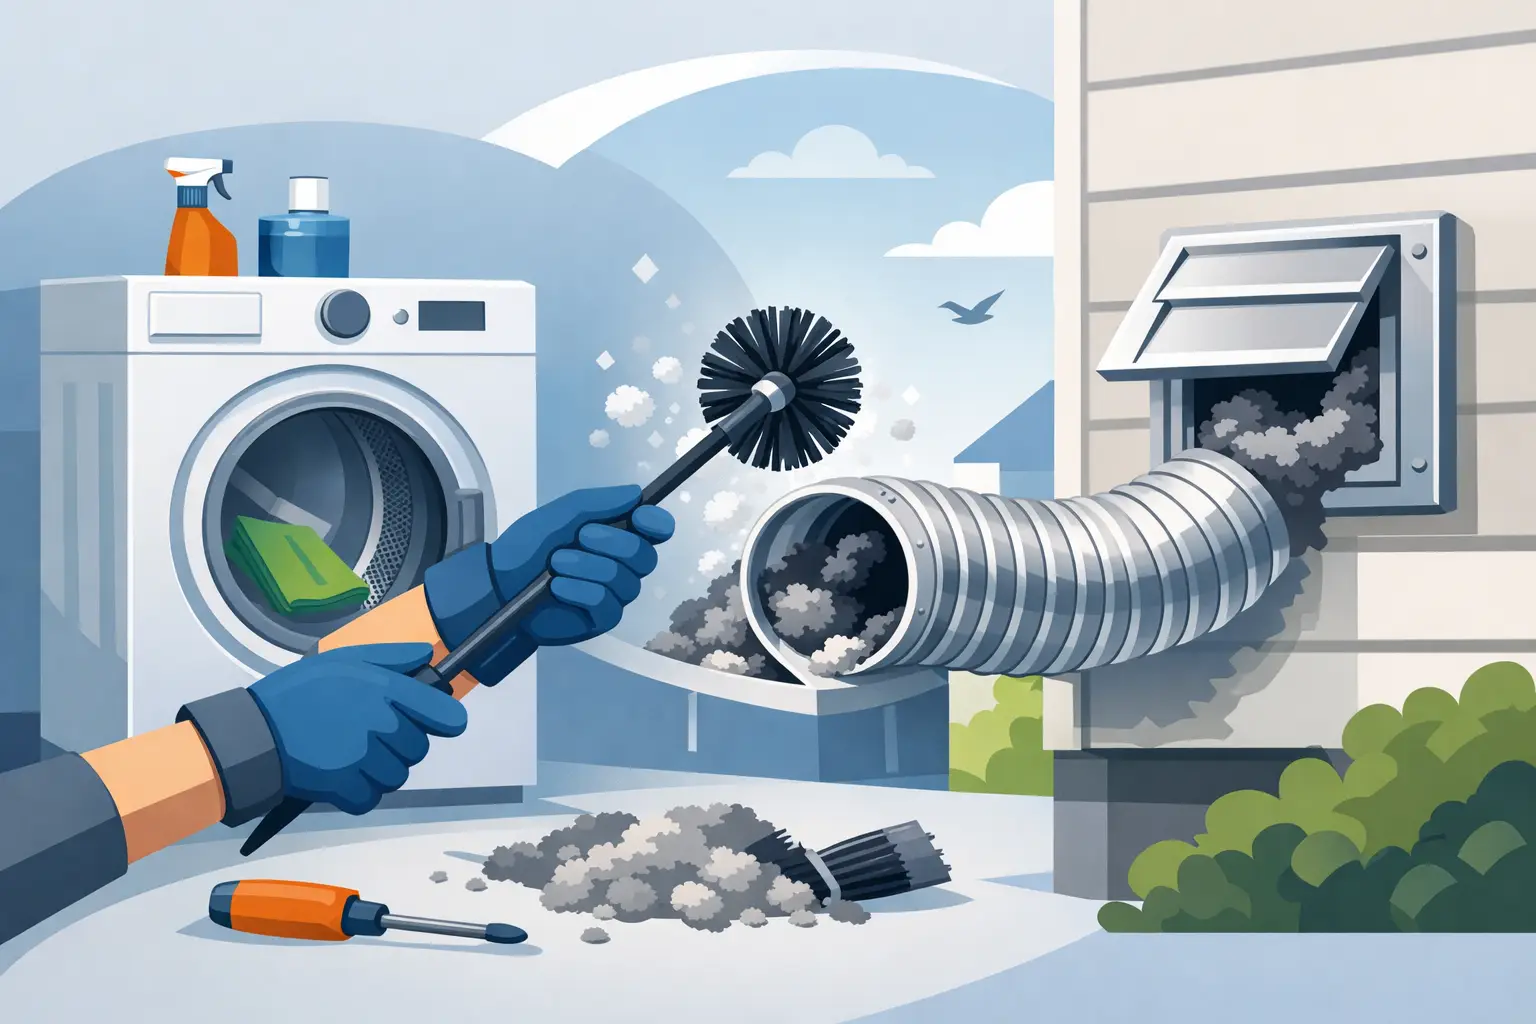
A dryer that suddenly takes two or three cycles to dry a normal load is not just frustrating. It can be a warning that lint is collecting where you cannot see it. That buildup restricts airflow, makes the dryer work harder, wastes energy, and raises the risk of a dryer fire. Knowing how to clean a dryer duct helps you handle basic maintenance safely and recognize when the job calls for a certified professional.
The lint screen is only the first line of defense. Fine lint moves past it during every load and can settle in the dryer transition hose, the duct inside the wall, and the exterior vent hood. In Charlotte, Fort Mill, and across the Carolinas, humid weather can make exterior vent flaps stick and cause lint to cling inside the system even more.
Start With the Warning Signs
Do not wait until the duct is completely blocked. A clean dryer duct should allow warm, moist air to move freely outside while the dryer runs. If that airflow is restricted, the appliance has to run longer and hotter.
Common signs of a clogged dryer duct include clothes that remain damp after a standard cycle, a laundry room that feels unusually hot or humid, a burning smell, visible lint around the dryer or exterior vent, and an exterior vent flap that barely opens while the dryer is operating. If you notice a hot dryer cabinet, shut the appliance off and do not keep running loads until the cause is checked.
A new problem may also point to a crushed transition hose behind the dryer, a bird nest at the exterior hood, or a duct that has come loose inside a wall or crawlspace. Cleaning helps only when the duct path is intact and properly connected.
What You Need to Clean a Dryer Duct
For a short, accessible duct run, basic tools can remove a meaningful amount of lint. Use equipment made for dryer vent cleaning, not improvised objects that could puncture the duct or push lint farther into the line.
You will generally need:
- A vacuum with a hose attachment
- A dryer duct brush kit with flexible extension rods
- A screwdriver or nut driver for the vent clamp
- A flashlight and clean cloths
Wear gloves and a dust mask if you are sensitive to dust. Keep a small bag or container nearby for lint. Never use a leaf blower to force lint through the duct. It can pack debris into turns, disconnect joints, or send lint into areas where it does not belong.
How to Clean a Dryer Duct Step by Step
1. Turn off the dryer and create working space
Unplug an electric dryer before moving it. For a gas dryer, do not disconnect the gas line unless you are qualified to do so. Move the dryer forward carefully enough to reach the connection behind it without putting strain on the gas line or electrical cord.
If the dryer is heavy, get help. Dragging it across the floor can damage flooring, kink the duct, or loosen a connection.
2. Remove and clean the lint screen
Take out the lint screen and remove the lint by hand. Then use the vacuum attachment to clean the screen housing. This narrow channel often collects lint that is missed during normal cleaning.
If you use dryer sheets or fabric softener, wash the lint screen occasionally with warm water and a little dish soap. A nearly invisible film can block airflow through the screen even when it looks clean. Let it dry completely before putting it back.
3. Disconnect the transition duct
The transition duct is the short section connecting the dryer to the wall outlet. Loosen the clamp at the dryer and the wall connection, then remove the duct carefully. Vacuum loose lint from both ends and inspect the duct for damage.
A rigid or semi-rigid metal transition duct is the better choice. Thin plastic or foil-style accordion ducts trap lint easily, crush behind the dryer, and are more likely to overheat. If you find one, replacement is a smart safety upgrade rather than something to put off.
4. Brush the duct from the dryer side
Insert the dryer duct brush into the wall opening and rotate it gently as you work farther into the line. Add extension rods as needed, but do not force the brush around sharp turns. Pull the brush back slowly and vacuum the lint that comes out.
This is where many do-it-yourself cleanings fall short. A brush can clear a straight, short run, but longer duct systems may have several bends, vertical sections, or a path through an attic, crawlspace, or wall cavity. Pushing too hard can separate a duct joint or leave the blockage deeper in the system.
5. Check and clean the exterior vent hood
Go outside and locate the dryer exhaust hood. Remove lint from the cover and make sure the flap or louvers can open freely. Do not install a screen over the exterior dryer vent. Screens catch lint quickly and create another blockage point.
If you find a nest, packed debris, damaged flap, or a vent hood that cannot open fully, stop and have it corrected. The dryer must exhaust outdoors, not into an attic, garage, crawlspace, or enclosed room.
6. Reconnect the duct and test airflow
Reconnect the transition duct with proper clamps. The connection should be secure, but avoid crushing the duct as you slide the dryer back into place. Leave enough room behind the appliance so the duct is not pinched.
Run the dryer on an air-only or low-heat setting for several minutes. Check outside for a steady flow of air and confirm that the vent flap opens. Return inside and listen for rattling or escaping air at the connections. If airflow is weak, do not assume the job is complete. A deeper blockage, damaged duct, or improper installation may still be present.
How Often Should You Clean It?
Clean the lint screen before every load. For most households, the dryer duct should be professionally cleaned about once a year. Homes with large families, frequent laundry, pets, long duct runs, or a dryer located far from an exterior wall may need service more often.
A simple visual check is useful between cleanings. Run the dryer and look at the exterior vent hood. Strong airflow and a fully opening flap are good signs. Weak airflow, lint collecting around the hood, or longer drying times mean it is time to inspect the system.
Landlords and small property operators should take dryer duct cleaning especially seriously. Shared laundry areas and high-use machines build lint faster, and tenants may not notice performance changes until the dryer stops working well. Regular service protects the equipment and helps reduce a preventable fire hazard.
When to Call a Professional Dryer Vent Cleaner
DIY cleaning is reasonable for a short, straight duct that you can access from both ends. It is not the best answer for every home. Call a professional when the duct is long or concealed, when drying times stay long after cleaning, when you see damaged or disconnected ductwork, or when the exterior vent is on a high wall or roof.
Professional cleaning equipment is designed to remove lint through the full duct path while protecting the system. A trained technician can also identify crushed transitions, unsafe materials, poor vent routing, exterior hood problems, and connections that need repair. That matters because a clean section near the dryer does not prove the entire duct is clear.
If you smell burning, see smoke, or believe the dryer is overheating, stop using it immediately. This is not a maintenance task to postpone until the weekend.
A Cleaner Duct Starts With a Clear Air Path
The goal is not simply to pull out a handful of lint. It is to restore a clear, secure path from the dryer to the outdoors so the appliance can dry efficiently and exhaust safely. A little routine attention goes a long way, but difficult duct runs deserve a thorough inspection.
For homeowners and property managers who want the job handled correctly, Carolinas Air Duct Cleaning Service provides professional dryer vent cleaning with a straightforward focus: remove the buildup, check the airflow, and leave the system cleaner than we found it.
Pingback: The Best Signs You Need Vent Service at Home – Carolinas Air Duct Cleaning Service