
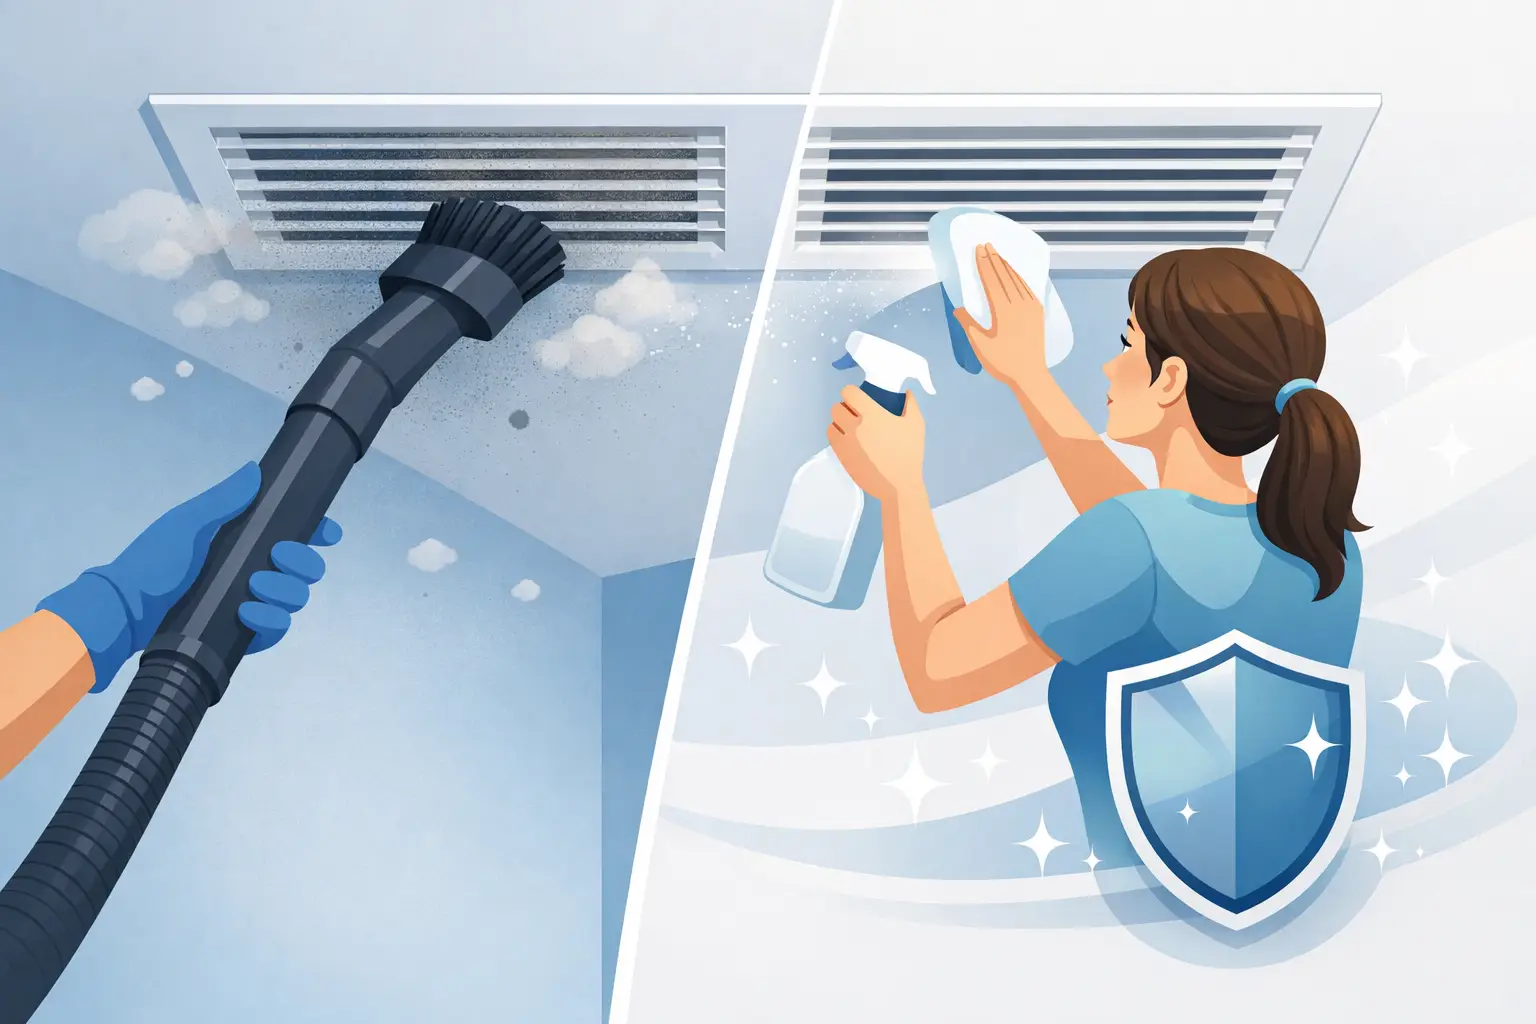
A dark ring around a ceiling vent or a layer of gray dust on the register is more than an eyesore. Every time your heating and cooling system runs, loose dust near that opening can move back into the room. Knowing how to remove vent dust the right way helps keep the job clean instead of turning it into a bigger mess.
For most homeowners, cleaning the visible vent cover is simple. Cleaning what is deeper inside the duct system is different. The goal is to handle what you can safely reach, keep dust out of the living space, and recognize when a professional cleaning is the better call.
Start With the Right Vent
Homes have supply vents, return vents, and dryer vents. They collect dust for different reasons, so they should not be treated the same way.
Supply vents blow conditioned air into a room. A little dust on the grille is common, especially in high-traffic rooms, near pets, or around windows. Return vents pull air back to the HVAC system and often collect more dust because they are constantly drawing household air through the grille.
A dryer vent is a separate safety concern. The material inside is lint, not ordinary household dust, and it should be cleaned thoroughly when buildup is present. Never use the same approach for a dryer vent that you would use for a wall or ceiling register.
How to Remove Vent Dust From Registers
Turn off your HVAC system before you start. This prevents air from blowing loose dust while the cover is off and keeps debris from being pulled farther into the system.
Use a vacuum with a brush attachment to remove loose dust from the vent cover first. Work slowly across the slats and around the edges. A microfiber cloth also works well for light surface dust. Avoid dry sweeping with a stiff brush, which tends to send dust into the room.
If the cover needs more than a quick wipe, remove it carefully with a screwdriver. Keep the screws in a small cup or bag so they do not disappear into the carpet or down a floor vent. Vacuum both sides of the cover, then wash it with warm water and mild dish soap. Let it dry completely before reinstalling it.
While the cover is off, vacuum just inside the opening using a hose attachment. Stay within the area you can clearly see and reach without forcing tools down the duct. This removes the dust that gathers near the register without damaging ductwork or pushing debris deeper into the system.
For ceiling vents, use a stable step stool and keep one hand free for balance. If a vent is high, awkwardly placed, or difficult to remove, it is better to leave it alone than risk a fall or bend the grille.
Do Not Push Dust Deeper Into the Ducts
The biggest mistake homeowners make is trying to clean an entire duct run with a household vacuum, long brush, or improvised tool. These methods can loosen debris without actually removing it. The dust may settle farther down the line, return through another vent, or get pulled toward the HVAC equipment.
Skip compressed air, leaf blowers, and strong fans inside duct openings. They can blast dust, pet hair, insulation particles, and other debris into the home. Spraying water or chemical cleaners into ducts is also a bad idea. Moisture inside a ventilation system can create a larger problem than the dust you started with.
A proper duct cleaning uses professional equipment designed to contain and remove debris. Certified technicians create controlled suction while agitating buildup inside the ducts, rather than simply moving it around.
Clean the Area Around the Vent Too
Vent dust is often a symptom of dust in the room, not just dust in the ductwork. Once the register is clean, vacuum or mop the surrounding floor and wipe nearby baseboards, furniture, and window sills. This keeps loose debris from being pulled right back toward a return vent.
If you see dark streaks around a ceiling supply vent, check for candles, fireplaces, smoking, or heavy cooking nearby. Fine airborne particles can cling around vent edges as air moves across the ceiling. Cleaning the grille helps, but reducing the source of the particles matters too.
In homes with pets, regular vacuuming makes a noticeable difference. Pet hair and dander build up quickly around return vents, especially when the filter is overdue for replacement.
Check Your Air Filter
A clean air filter is one of the simplest ways to reduce vent dust. When a filter is clogged, airflow can suffer and more dust may settle around registers. Check the filter monthly and replace it according to the manufacturer’s recommendation and your home’s conditions.
Homes with pets, allergies, ongoing renovation work, or several occupants may need more frequent filter changes. The right schedule depends on the filter type and how much dust your household produces. Do not assume a filter is clean just because it has not reached a certain date on the calendar.
Make sure the filter is installed in the correct direction. Most filters have an arrow showing the direction of airflow. An improperly installed filter may not work as intended and can contribute to unnecessary system strain.
When Visible Dust Means It Is Time for Duct Cleaning
A little dust on a register is normal. Heavy buildup, repeated dust shortly after cleaning, or debris blowing from vents deserves a closer look.
Professional air duct cleaning is worth considering when you notice a significant amount of dust or debris inside accessible duct openings, have recently completed remodeling work, moved into a previously occupied home, or see dust returning to vents unusually fast. It can also make sense after pest activity or when a property has gone a long time without HVAC maintenance.
If family members are dealing with ongoing respiratory concerns, duct cleaning is not a replacement for medical care or proper humidity control. Still, removing accumulated debris from the system can be a practical part of improving overall indoor cleanliness.
For landlords and small business property operators, duct cleaning can be especially useful between tenants or after a dusty project. It gives the next occupant a cleaner starting point and helps maintain the HVAC system as part of regular property care.
Do Not Ignore Dryer Vent Buildup
A dryer vent should never be cleaned with a quick wipe at the exterior cover and called finished. Lint can build up throughout the vent path, restricting airflow and increasing fire risk.
Warning signs include clothes taking longer to dry, a dryer that feels unusually hot, a burning smell, or weak airflow at the outside vent hood. Stop using the dryer if you suspect a blockage until the vent has been inspected and cleaned.
Dryer vent cleaning requires the right equipment and a clear path from the dryer to the exterior termination. Long runs, multiple bends, bird guards, and roof exits can make the work more complicated. This is one job where a thorough professional service is often the safest, most dependable option.
Keep Vents Cleaner Between Cleanings
You do not need to clean every vent every week. A quick vacuum of visible grilles during normal house cleaning, along with regular filter changes, is usually enough for routine maintenance. Check return vents more often because they typically collect dust faster.
Keep furniture, rugs, and storage boxes from blocking supply and return vents. Restricted airflow can make rooms less comfortable and encourages dust to collect around the openings. If a register is bent, rusted, or no longer fits securely, replace it rather than trying to force it back into place.
When dust keeps coming back despite regular cleaning, the answer may be deeper than the vent cover. Carolinas Air Duct Cleaning Service provides certified, thorough cleaning for homeowners and light commercial properties that want a cleaner ventilation system without the guesswork. A clean register is a good start. A clean system gives your home a better place to breathe.