
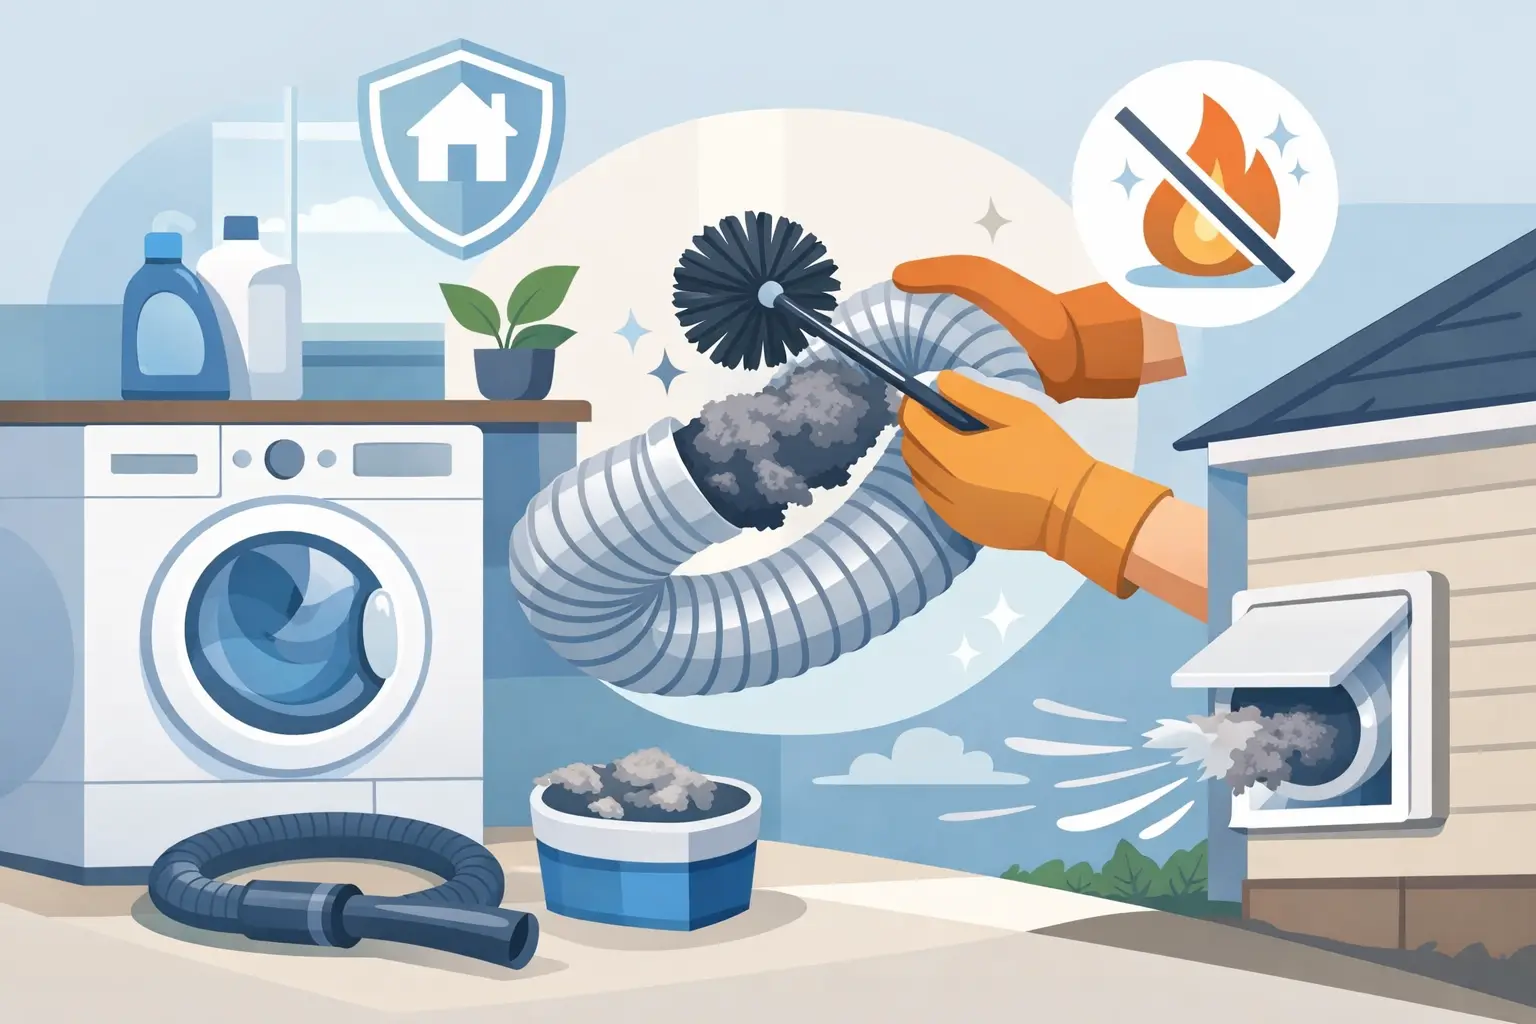
A dryer that suddenly takes two or three cycles to dry a normal load is not just wasting time. It may be pushing hot, moist air through a vent line that is restricted by lint. This home dryer vent cleaning guide explains what homeowners can safely check, where DIY cleaning stops, and when a professional cleaning is the smarter call.
Dryer lint is highly flammable. Even when the lint screen is cleaned after every load, fine fibers still make their way past the screen and into the dryer cabinet, transition hose, and vent line leading outdoors. Over time, that buildup can restrict airflow, raise drying temperatures, and create a preventable fire risk.
Why Dryer Vent Cleaning Matters
Your dryer needs a clear path to move heat and moisture outside. When that path is blocked, the machine works harder and clothes stay damp longer. That extra strain can shorten the life of the dryer, increase energy use, and leave laundry smelling musty because it is not drying properly.
The safety concern is just as serious. Lint collects easily in bends, long vent runs, loose connections, and exterior vent hoods. It does not take a completely blocked vent to cause trouble. A partial restriction can keep heat trapped where it should not be.
For homeowners, landlords, and property managers, regular vent cleaning is practical maintenance. It helps protect the appliance, keeps laundry moving, and reduces a risk that is easy to overlook until the dryer stops performing.
Signs Your Dryer Vent Needs Attention
Drying time is usually the first clue. If towels or jeans need more than one cycle, do not assume the dryer itself is failing. Check the lint screen first, then look for other signs that the vent may be restricted.
Watch for these common warning signs:
- Clothes are unusually hot at the end of a cycle.
- The laundry room feels warm, humid, or smells slightly burnt.
- The outside vent hood has weak airflow while the dryer is running.
- Lint is collecting around the dryer connection or exterior vent opening.
- The dryer shuts off before the load is dry, or runs much longer than usual.
A gas dryer that is not venting properly deserves prompt attention. Any appliance that produces combustion gases must vent safely outdoors. If you smell gas, notice a damaged gas connection, or suspect a venting issue with a gas dryer, stop using it and call a qualified professional.
What You Can Safely Do Yourself
Basic upkeep makes a real difference, especially between professional cleanings. Start by cleaning the lint screen before every load. Take it out, remove lint by hand, and check the screen occasionally for residue from dryer sheets or fabric softener. A screen can look clean but still have a film that slows airflow. Washing it gently with warm water and mild dish soap, then letting it dry fully, can help.
Next, inspect the area behind the dryer. Unplug an electric dryer before moving it. If you have a gas dryer, do not disconnect the gas line unless you are qualified to do so. Pull the appliance forward only enough to look for crushed, torn, or loose vent connections.
The short hose from the dryer to the wall should be as straight and smooth as possible. Flexible foil or plastic-style ducts can sag, tear, and trap lint. A properly installed metal transition duct is generally the better option. Do not force the dryer tight against the wall, since crushing the hose can restrict airflow immediately.
Outside, locate the vent hood while the dryer is running. The flap or louvers should open and you should feel a steady flow of warm air. Remove visible lint, leaves, insect nests, or other debris around the cover. Never use a screen over the exterior vent opening. Screens catch lint and can quickly become a blockage.
A Practical Home Dryer Vent Cleaning Guide
A homeowner can often clean the accessible portion of a short, straight vent. Use a dryer vent brush kit designed for the job, along with a vacuum that can collect loose lint. Work carefully. Aggressive brushing can disconnect a weak joint or damage flexible ducting.
Begin at the dryer connection after the appliance has been unplugged. Remove the transition hose, vacuum loose lint from the hose and the opening behind the dryer, then inspect the hose for damage. If it is crushed, torn, or heavily coated with lint, replacement is usually better than trying to salvage it.
Then clean the accessible vent run from the wall opening. Extend the brush slowly, pull it back often, and vacuum lint as it comes loose. If the brush hits a hard stop, do not keep forcing it. You may have reached a bend, a damaged section, or a blockage that needs professional equipment.
Finish by reconnecting everything securely, making sure the duct is not kinked when the dryer is pushed back. Run a short test cycle and check the outdoor hood again. Stronger airflow is a good sign, but it does not always mean the entire line is clean. Long runs can hold lint well beyond the reach of a basic brush.
When DIY Cleaning Is Not Enough
DIY cleaning is best for routine maintenance, not every vent system. Many homes in the Carolinas have dryer vents that travel through walls, crawl spaces, attics, garages, or up to the roof. Those longer routes often include multiple turns where lint settles and home tools cannot fully reach.
Professional service is the better choice when the vent is long, difficult to access, clogged, or showing clear signs of poor airflow. It is also a good call after a renovation, a bird or pest issue, water damage, or years of unknown maintenance history. Rental properties and small commercial laundry areas benefit from a regular schedule because usage is often heavier than in a single-family home.
A certified technician can clean the full vent path with purpose-built equipment, inspect connections, and identify problems such as disconnected ductwork, improper materials, crushed sections, or a blocked exterior termination. That is more thorough than cleaning only the few feet visible behind the dryer.
Carolinas Air Duct Cleaning Service provides professional dryer vent cleaning for homeowners and property operators who want the job handled correctly. The goal is simple: remove built-up lint, restore airflow, and leave the system cleaner and safer without turning a routine service into a complicated project.
How Often Should a Dryer Vent Be Cleaned?
For many households, a professional dryer vent cleaning every year is a reasonable starting point. The right schedule depends on how often you use the dryer, the length of the vent, the number of turns in the line, and what you dry.
A family doing frequent loads, a home with pets, or a household that regularly dries towels, bedding, and work clothes may need service more often. A vent with a long run or a roof exit should also be checked on a tighter schedule. On the other hand, a lightly used dryer with a short, straight exterior run may need less frequent full cleaning, as long as airflow remains strong and there are no warning signs.
The best approach is not to wait for a failure. Put a quick lint-screen check into every load, inspect the outside hood every few months, and schedule professional cleaning based on usage and vent design.
Avoid These Common Mistakes
Do not assume cleaning the lint screen cleans the vent. The screen catches a lot, but not all, of the lint. Do not run the dryer with a disconnected vent hose, either. That sends heat, moisture, and lint into the home instead of outdoors.
Avoid using screws that protrude into the duct connection. Lint can catch on the screw tips and build up faster. Foil tape made for HVAC use is a better choice for sealing metal duct joints than standard cloth duct tape, which can fail under heat.
Most of all, do not keep running a dryer that is clearly struggling. Extra cycles are not a fix. They are a warning that airflow needs attention.
A clean dryer vent is one of those home maintenance jobs that pays off quietly: faster laundry, less strain on the appliance, and more confidence that hot air and lint are moving where they belong – outside.